Back in 2015 I released a collection of images with only one thing in common: they were all taken with a smartphone and processed in Snapseed. Other than that they didn’t really have much in common.
Since then I have continued to take pictures with my smartphone and process them in Snapseed, but this time trying to make them all kinda “fit” as part of a collection, being more “gritty” and “Lo-Fi
By the end of November 2016 I were finally so close to being satisfied that I decided that I would release this collection.
It is a bit different from what I usually do, but I think I needed to try something else for a while.
This is the 11th of 20 pictures in my collection “The Lo-Fi Collection Vol. II: Gritty and grungy.
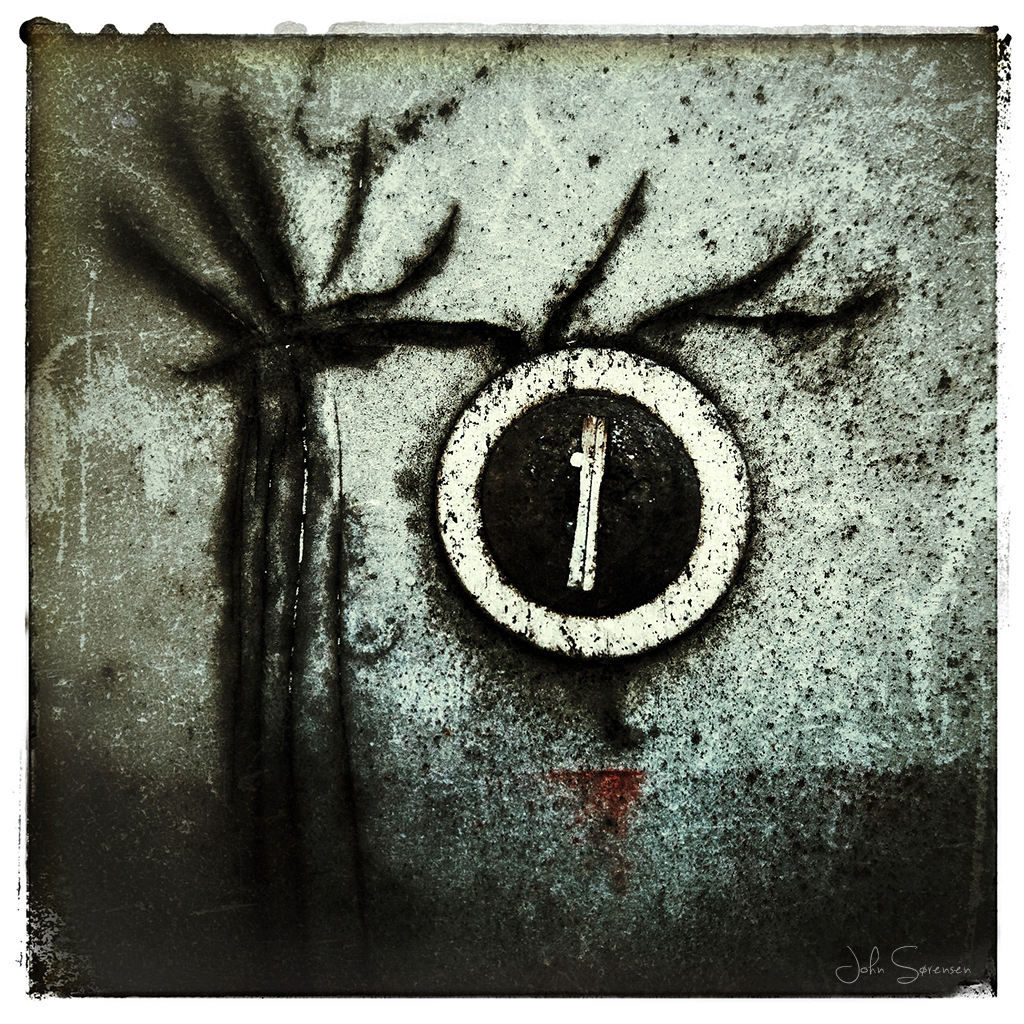
Month: March 2017
Ripped Skull (Lo-Fi vol. II, 10/20)
Back in 2015 I released a collection of images with only one thing in common: they were all taken with a smartphone and processed in Snapseed. Other than that they didn’t really have much in common.
Since then I have continued to take pictures with my smartphone and process them in Snapseed, but this time trying to make them all kinda “fit” as part of a collection, being more “gritty” and “Lo-Fi
By the end of November 2016 I were finally so close to being satisfied that I decided that I would release this collection.
It is a bit different from what I usually do, but I think I needed to try something else for a while.
This is the 10th of 20 pictures in my collection “The Lo-Fi Collection Vol. II: Gritty and grungy.
Choke! (Lo-Fi vol. II, 9/20)
Back in 2015 I released a collection of images with only one thing in common: they were all taken with a smartphone and processed in Snapseed. Other than that they didn’t really have much in common.
Since then I have continued to take pictures with my smartphone and process them in Snapseed, but this time trying to make them all kinda “fit” as part of a collection, being more “gritty” and “Lo-Fi
By the end of November 2016 I were finally so close to being satisfied that I decided that I would release this collection.
It is a bit different from what I usually do, but I think I needed to try something else for a while.
This is the 9th of 20 pictures in my collection “The Lo-Fi Collection Vol. II: Gritty and grungy.
Lupin (Lo-Fi vol. II, 8/20)
Back in 2015 I released a collection of images with only one thing in common: they were all taken with a smartphone and processed in Snapseed. Other than that they didn’t really have much in common.
Since then I have continued to take pictures with my smartphone and process them in Snapseed, but this time trying to make them all kinda “fit” as part of a collection, being more “gritty” and “Lo-Fi
By the end of November 2016 I were finally so close to being satisfied that I decided that I would release this collection.
It is a bit different from what I usually do, but I think I needed to try something else for a while.
This is the 8th of 20 pictures in my collection “The Lo-Fi Collection Vol. II: Gritty and grungy.
Micro adjustment made easy
Micro adjustments has always been a bit intimidating to me. The idea is that the lens and the autofocus sensor in the camera does not always result in an exact focus on the actual image sensor. Focus might be a bit in front or behind the point that were focused upon when autofocus were engaged. This happens because of a tiny offset between the distance between Lens/Autofocus sensor and Lens/Image sensor.
To fix this, most Mid-/High range DSLR’s allows you to perform micro adjustments per lens. But the procedure included buying advanced focusing gadgetry that had to be set up very precisely, taking photos of the gadget and then trying to determine how far off the focus is.
In short, complicated and with a bit of magic involved.
This weekend I read a bit about a procedure called Dot-Tuning. It is kind of the same procedure as explained above, but much more simple to understand and do. Instead of a complicated setup, you print out a sheet of paper with a high contrast pattern which you then tape to a wall or similar. Next you place your camera on a tripod at a distance of 50x focal length of the lens (e.g. with a 50mm lens the distance would be 50x50mm=2500mm). Position the camera to point directly at the high contrast pattern with the center focus point and enable Live View. Now use the 10x magnification on the Live View to set focus, either manually or with the focus button. Once focus has been acquired, set the lens to manual focus to avoid refocusing.
Next the idea is to micro-adjust up from 0 to +1, +2 and so on, one step at the time, each time looking in the viewfinder and checking if the camera can acquire focus instantly without any hesitation. Once you reach this point, write down the number of the offset that were the last giving a positive focus dot. Now do the same micro adjusting down from 0 to -1, -2 and so on.
When you have two points, e.g. 6 and -2 you find the middle value, in this case 2. (-2, -1 ,0, 1, [2], 3, 4, 5, 6).
To make this step simpler, the video above links to this calculator.
The idea is that since 2 is dead in the middle of the values giving positive focus confirmation, the auto focus should be much more precise than without the micro adjustment.
I tried it on my 35mm, 50mm and 85mm primes, and so far it is too soon to determine if this were a major difference, but the camera / lens combinations seems to be faster to acquire focus when I try to focus on my fast moving 7 year old daughter or in low light situations. I will still have to test this further before I can say anything with absolute certainty, but at least the Dot-Tuning procedure has made micro adjustment easy to do.
Further details about the method, as well as an ongoing discussion can be found here.
Please note that I did not invent this method, nor am I trying to take credit.
If you have any comments or questions, please feel free to leave a comment below.